Friday, February 8, 2013

Skateboarder Kyle

Skateboarder Kyle Cake, I made Skateboarder Kyle a month ago. He's made with a 50-50 mix of modelling chocolate and fondant. I made him early to give him time to really dry out and harden, and just don't want to risk him falling apart.
His right ankle did snap, however. We had a week of extremely hot days, temperature in the high 30s with high humidity and the modelling chocolate went soft in the heat. I used a higher ratio of modelling chocolate in the head and limbs which explains why the ankle buckled. I reattached the leg with melted isomalt. Lesson to learn? Use melted isomalt to attach limbs and fiddly bits. There are numerous advantages to using isomalt as glue for limbs in particular. It sets very quickly so there's no chance for bits to slip and slide. Once set, isomalt is very hard and rigid, and as I discovered, isomalt is quite strong coz the leg has remained intact. I even tried to jiggle it yesterday and it would not budge.
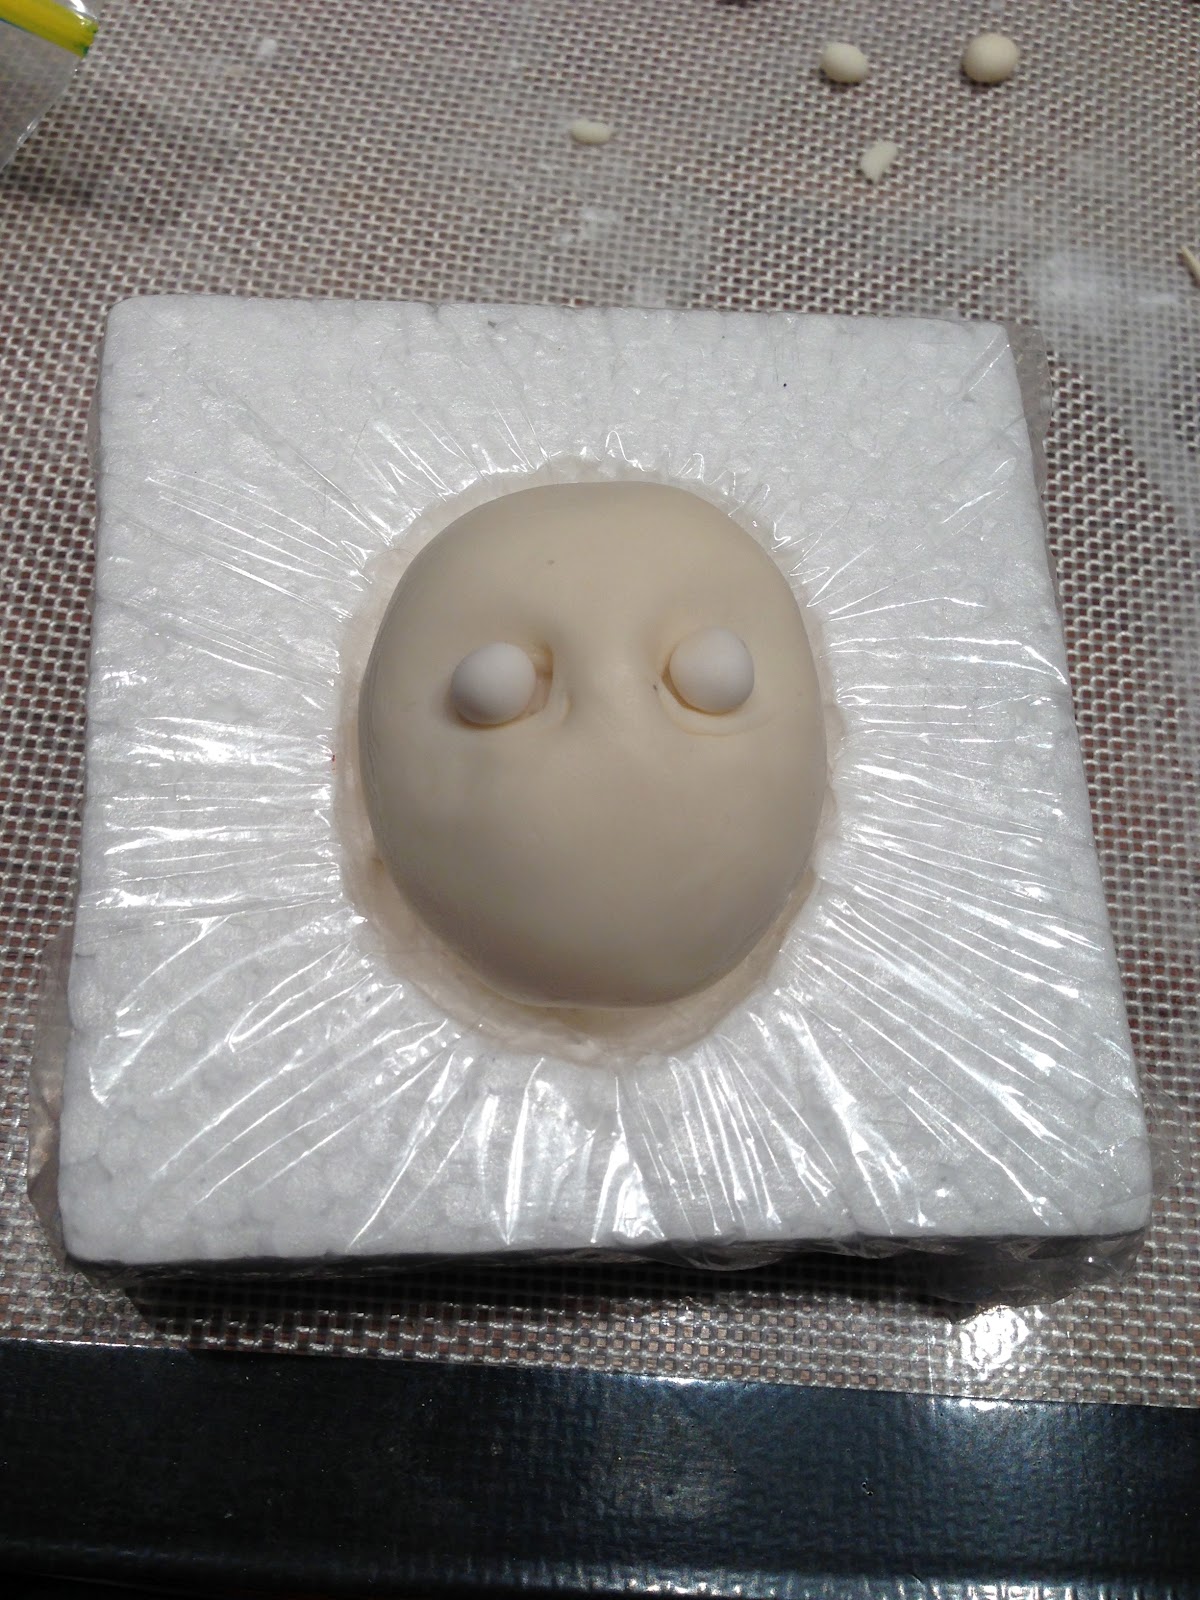
I didn't take any progress pics yesterday coz it was the most stressful cake day ever, but here're some progress pics of making Skateboarder Kyle.


In addition to Skateboarder Kyle, I also made the graffiti in advance. I'd always wanted to try painting on fondant and thought I'd give it a go with the graffiti. I freehand drew the outline with Americolor black pen.
I hand-painted the graffiti faces with a paintbrush using Americolor airbrush colours
I used this graffiti art which I found on Google, I basically copied it but I don't know where it came from, so if you're the original artist, please contact me. I'd love to give you due credit. Sorry, I had to copy your piece of work coz I've never painted graffiti before so thought best to just copy someone!
I also did Kyle's name in freehand. Similar to the faces, I used Americolor pen to draw the outline of the name, then painted the fill colours with a paintbrush and Americolor airbrush colours. I applied the finishing touches with gold and silver highlighter dust mixed with rose spirit. Alas, all my efforts ended up in the bin because it didn't fit on the cake.

8 February 2013
I had only one day to put everything together. I've never decorated a cake within a day, I've always done it over two days; but Jo wanted the cake on a Friday night. I wasn't sure I could finish decorating a cake within a day, so the day didn't start on a confident note. I was already feeling stressed out.
Okay, deep breath.... first thing's first: covered an A3-size foam board with cake foil. Rolled out fondant and covered the cake board. My least favourite things to do - kneading and rolling out fondant, so get that done first up. Also, it's a good idea to get the board all prepped up so it has time to dry and harden, less chance of denting it later with fingerprints and all.
Next is making the buttercream; again, not my favourite, not for summer because it doesn't hold up well to the heat unlike ganache but Jo wanted buttercream to offset the richness of the chocolate mud cake. Bimbi made the buttercream with Nioka Guest's buttercream recipe but with a few twists - homemade butter instead of regular butter and I also added a block of melted white chocolate and omitted the 1/4 cup water. Buttercream turned out really fluffy and light, like a cloud, the lightest and fluffiest buttercream I've ever seen. It also tasted divine, no greasiness at all.
Unfortunately, the buttercream turned out to be far from stable. While it firmed up in the fridge, it started to melt very quickly once out of the fridge. I could only work on the cake briefly before the buttercream melted, so I had to work fairly quickly. After every panel of fondant, the cake had to be refrigerated. It was time-consuming and painstaking. I also had visions of fondant sliding off the cake and fondant melting from condensation. Fortunately, Satin Ice appeared to cope quite well with fluctuating temperatures.
By the time I finished covering the cake, it was almost 4:00pm. Time to airbrush but guess what? It's a scorching high 30C outside. The buttercream would turn to mush in that heat and our shoebox house is simply too small to airbrush indoors without having paint vapours ending up everywhere. Tried dusting with grey petal dust for a cement look, turned out blotchy. Tried hand-painting, turned out worse. The board looked like crap and the cake just looked dirty. Didn't look like a skateboard ramp in the slightest. SO ready to chuck it in the bin, close to tears. Never been this stressed out with a cake before. I've always been able to fix things but just didn't feel I could fix any of these. In addition, the bloody buttercream started to melt and was now oozing out of the seams, causing parts of the cake to bulge out. Hmmm... I should just call Jo and say "No deal on this one."
Hubby came home and set up the Dinkydoodle outside. Stuff it, I'll have to airbrush, if it melts, it melts, too bad! Finished airbrushing, buttercream oozing out of every cake crevice.... back into the fridge again. SO OVER this cake!
The dramas didn't stop there either. When I tried to attach the graffiti name which I painted few weeks ago, it wouldn't fit on the cake, well... coz I hadn't factored in the graffiti number-18. Quickly painted another graffiti name, stuck it on the cake, slippery sliding all over the ramp, had to hold it in place and held my breath at the same time. Finally, it decided to stay...
By 6:30pm it's all done. Quickly called up Jo and delivered the cake before it melted any further. Told her to store it in her fridge. No longer my problem once the cake is delivered. Had more nightmares of cake falling apart in transit, even though it was only a 5-minute drive to Jo's place. Fortunately... and that's the ONLY stroke of good fortune for the day..... the cake made it there in one piece. PHEW!


Friday, February 1, 2013

Swearing garden gnomes

Want to say what you truly feel but just don't fancy getting punched in the face? Well, now you can, with these cupcake toppers. Let the garden gnomes do all the talking and sweeten the blow!


Saturday, January 26, 2013

Ribs dinner!

It's my dinner!
Errr... actually no, it's cake! Don't believe me? Here, let me show you.
A few weeks in advance, make bones from Satin Ice ivory fondant, score then brush with Americolor airbrush dark brown and tints of red. Leave them to dry, post pic and freak out some FB friends... yes, I'm sick in the head like that.
Next, make crinkle cut fries, again from Satin Ice ivory fondant. Leave to dry for a few days.
 
First time trying a marble cake, torte and cut slits.
Round off square edges.
 
Make buttercream and coz it's hot in summer, I used Nioka's half-half butter and melted copha recipe, whip it real good till it's pale and fluffy, add icing sugar mix. I also threw in some white chocolate ganache, vanilla essence and 1 to 2 teaspoons of pavlova magic. Whip till stiff, and into the fridge to chill. 
Crumb coat the cake with buttercream, and back into the fridge to chill some more.
Remove cake from fridge and wait about 10 to 20 mins for the cake to come back to room temperature. Roll out Satin Ice ivory fondant and cover the cake, make dents on the side for the rib bones.
Now comes the bit I love to do - airbrushing!! Airbrush the fries...
Airbrush the cake, stick in the rib bones, arrange everything on a plate. Sorry, no pics. I always get carried away with airbrushing coz it's so exciting and all...
Make sauce by mixing liquid glucose with some hot water and Americolor airbrush dark brown with a drop of red. Dribble sauce over the ribs and bones. Final touch of dried herbs (which is really green coloured desiccated coconut!)


Get the full instructions and more from Debbie Goard's "Twisted Cakes" book.

Wednesday, January 16, 2013

Skateboarder

This is how I made a skateboarder from modelling chocolate and fondant.
Start bottom up. Make shoes and socks. Skewer through one shoe and build up the legs. I inserted a toothpick in the other leg just to keep it straight. I used a mix of 50-50 modelling chocolate and fondant. This takes advantage of both worlds - the workability and springiness of fondant and the strength of modelling chocolate. Usually with just fondant, I'll have to leave this to dry at least overnight if not a few days. 
But with modelling chocolate in the mix, I can keep working and build up the pants as well. Would you believe it, this is standing on its own, no propping up. Can't do that with pure fondant. And... no cracking, no elephant skin wrinkling. Gotta be happy with that!
Oh, this is how I made the pants... one leg at a time. Shape a sausage, insert a skewer and roll the skewer around to hollow out the sausage and make a pant leg. Make 2 of these and stick them together to form a pair.
I kept going, no need for drying time, added the t-shirt and neck. Just about complete at this stage. The Mambo name and logo are hand-drawn on white fondant and stuck on the t-shirt.
Next, sleeves were attached. I then made the arms and hands, left l for about 1 minute and attached to the sleeves, again no need to prop up. They basically stayed where I intended them to. Attach head and he's ready to partay!


Saturday, January 5, 2013

Mr Bean

Mr Bean step by step...
My first attempt at sculpting a caricature. I chose Mr Bean coz he's one of my favourite characters and his face is full of expression. 

Step 1: Usual stuff, start with an egg-shaped ball of LCM, or RKT (rice krispie treats). I used half a bar of LCM coz I only needed a little. No point making a whole batch of RKT just for a little bit. Squish and shape LCM into an egg. Oh, do you like my new head moulding tool? 
Step 2: Cover LCM egg with fondant. For face sculpting, I find a mix of 50-50 white modelling chocolate and Satin Ice ivory fondant gives me the best texture. The modelling chocolate prolongs the working time of the fondant without drying out too quickly and the fondant prevents the modelling chocolate from getting too greasy from the heat of my fingers. All in all, a great marriage :-) Don't forget to indent two holes for the eye sockets.
Step 3: Make 2 small balls from white fondant for the eye balls. Make sure the eye balls fit in the eye sockets. Before proceeding to Step Four, leave the face and eye balls to dry out and firm up a little. This is a good time to catch up on some housework... or watch TV.... or have a nana nap (I chose the second and third option. Hehehe).
Step 4: Add eye lids. I ended up doubling the size of the eye balls to add a bit of drama and expression to Mr Bean's face.
Step 5: Form a nose and attach to the face with some tylose glue. 
Step 6: Add the cheeks.
Step 7: Blend the cheeks into the face. This is another reason why I add white modelling chocolate to fondant. It's easier to blend and smooth out the seams. Don't forget to etch out the mouth at this stage.
Step 8: Add lips and forehead. At this point I also etched out some details such as wrinkles and skin folds.
Step 9: Add pupils to the eyes. I simply used black non-pareils.
Step 10: Add eyebrows. Remember eyebrows play an integral part in facial expressions so give some thought about how to shape the eyebrows to get that expression you want to achieve. Don't forget to attach the ears!
Step 11: Finally, the hair and here's Mr Bean! A few things I'd like to have done better; make the forehead wider and higher, for example. And make better looking hair. But overall, quite happy with my first attempt. This head is rather large, almost the size of an egg. Next project is to make a smaller head which is more of a challenge to get all the details on a smaller scale. 
Bean! With a dash of colour...

Wednesday, December 19, 2012

It's Christmas!

HEI HEI HEI.... MERRY CHRISTMAS... HO HO HO!

PLIGHT OF A SNOWMAN

TOO MUCH CHRISTMAS CHEER

Bloggers.com

Bloggers - Meet Millions of Bloggers