What to do with imperfect rustic-looking cake pops? Call them cake boulders and add some crushing effects. LOL.
Showing posts with label men. Show all posts
Saturday, October 13, 2012
Cake boulders
Labels:
3D,
baking,
cake,
cake decorating,
cake pops,
figure,
figurine,
man,
men,
sculpture,
sugar craft
Wednesday, September 19, 2012
Uncle Bill's racing cake
A 90th birthday cake for Jo's uncle who likes horse racing.
I make LCM shapes for the horses - head, body and legs.Cover the shapes with fondant.
Assemble the body and leave it to harden overnight. My trusty silicone petit four mould to the rescue, as usual.
Next day I attach the heads and use paper towels to hold them in place. I then leave these for a few days to dry out and harden properly. This is necessary to ensure that the legs would support the weight of the body and head.
Add details. I pipe the hair and tail using a Makins clay extruder - used only for fondant. If you have a clay extruder that you've used for clay or polymer clay, you need to get a new one. I never mix food tools with non-food tools. The same goes for brushes and other equipment.
Don't forget to make 2 holes for the nostrils.
For the ears, start with 2 small teardrops.
Make a line indent on each teardrop.
Attach the ears.
I cut a cardboard cake board into a rectangular shape and cover with green fondant. I make railings out of toothpicks covered in white fondant.
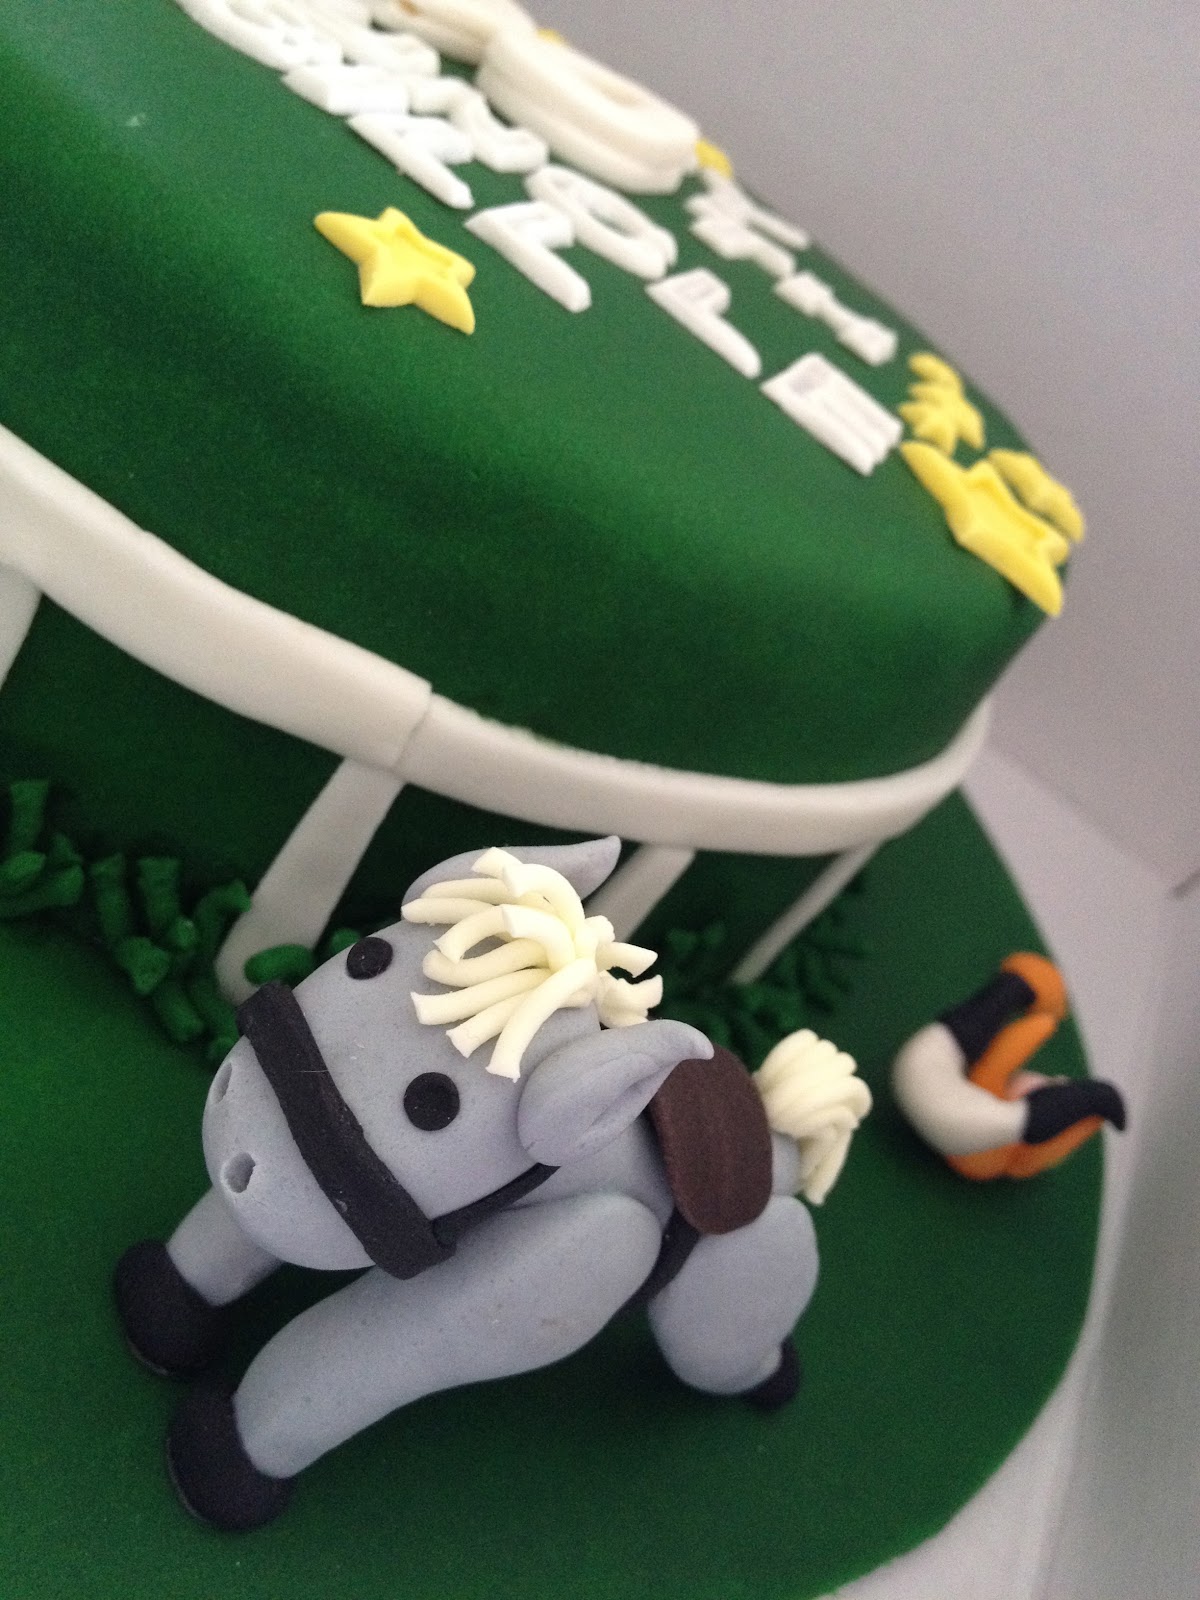
Fine details are added - jockey complete with boots and caps and a fallen jockey adds to the drama.
Final cake is quite different from what I've originally planned! I initially thought of a rectangular cake iced with buttercream (Jo wanted the most simple flavours) and covered with green tinted desiccated coconut, topped with the horses and race track. But when I completed the topper, I realised I didn't have a cake box large enough for a rectangular cake. So, the cake design was converted from rectangular to round. Can't take credit for the design, though coz I found heaps of cakes like this on google. BUT, I can take credit for the fallen jockey idea! LOL.
Labels:
baking,
birthday,
cake,
decorating,
figurine,
gum paste,
horse,
how to,
jockey,
men,
racing,
sculpture,
step by step,
sugar paste
Sunday, June 10, 2012
How to make a sugar man Part 2
Part 2 of How to make a sugar man
(Step 8)
Shape a small sausage with one end slightly narrower than the other.
(Step 9)
Flatten the broader end and make a small slit like this. This will be the thumb.
(Step 10)
Use your fingers to round off the sharp edges and shape the thumb. It would help to indent the palm and curve the fingers to make it resemble a hand. If you're making a bigger figure, you can also make 3 more slits and shape all the fingers. But since this is a small figure, I shan't bother with the details (the finished figure would only be about 1-inch tall).
Bend the arm about half-way to make an elbow. Repeat the steps to make a second arm but remember to cut the thumb slit at the opposite end or you'll end up with 2 right arms (or 2 left arms, depending on which one you started with)! Leave the arms for about 15-30 mins to let them set but not harden. While waiting, have a cup of tea or vacuum the floor or update your Facebook or watch an episode of Cake Boss..... even if you leave it for a few hours, the sugarpaste will set but not harden, just as long as you don't totally forget about it and leave it overnight or over an entire week. If you try to attach arms to the body right after you've made them, they may be too soft and will flop or stretch and you'll end up with gorilla arms (hehe). Yes, patience is the key to good art!
(Step 12)
Attach the arms, like so...
(Step 13)
Make an oval-shaped ball.
(Step 14)
Attach the oval-shaped ball. This time you can attach the ball right away coz it's a solid ball and not as flimsy as the arms. Artistic tip - attaching the head at an angle rather than straight centre will give your figure more character.
Make a whole bunch of men and have a party!
Labels:
baking,
cake,
cupcakes,
decorating,
figure,
figurine,
figurines,
gum paste,
how to,
man,
men,
sculpture,
sculptures,
step by step,
sugar art,
sugar craft,
sugar paste,
toppers
How to make a sugar man Part 1
(Step 1)
Roll out some sugarpaste and cut out a disc using a round cookie cutter. This is the base for the sugar man to stand on. Leave to set.
(Step 2)
Shape a teardrop and indent slightly to form a tapered flat end, like this.
(Step 3)
Make a slit in the middle of the flat end.
(Step 4)
Gently roll each split side between your fingers to smoothen out, like this.
(Step 5)
Bend and push the tips to make the feet. Slightly pinch the heels to form the feet.
Various angles of the feet....
(Step 6)
Insert a thin piece of dried spaghetti from the base of one foot through the neck. This is the armature structure to keep the figure stable. Leave a small tip at the end of the foot - this will be used to attach the figure to the base. Shape the legs depending on the pose you'd like to achieve. I've made a bent leg with this one.
(Step 7)
Apply some sugar/flower glue on the base of the feet with the spaghetti tip and attach the figure to the base. Balance the figure against a solid object - I've used my glue bottle here, and leave it to set and harden. I left mine overnight. You can also use cotton balls to support the figure while it sets. Stay tuned for Part 2. :-)
Labels:
baking,
cake,
cupcakes,
decorating,
figure,
figurine,
flowers,
gum paste,
how to,
man,
men,
sculpture,
step by step,
sugar art,
sugar craft,
sugar paste,
toppers
Subscribe to:
Posts (Atom)