This is my most epic cake yet.... a standing bear cake. I'm really chuffed with how it turned out. It's a commissioned piece from my friend Alex for her sister's birthday. Her sister apparently likes Pedo Bear, which is rather inappropriate, I know... but clients do come with the weirdest requests! LOL. Although, Alex's original idea was to just bake a round glutten free dairy free chocolate cake and stick an edible image of Pedo on the cake. I talked her into this! Yes, I'm a sucker for punishment!

Start with watching an inspirational video by Bronwen Weber... do a search on You Tube. Bronwen's "cake bones" are available online but at $100, I decided to make my own... with a bit of help from Greg and Mr Bunnings, a nickname concocted by my buddies from the Facebook Australian Cake Decorating Network. When Greg and I were shopping for PVC bits at Bunnings, this very helpful staff member kept offering his help.... well, we stood looking at and pondering about pipes and bits for over an hour so I guess he realised we were kinda struggling. At his 3rd offer to help, I decided to explain what I planned to make. He scratched his head. I showed him a picture of Pedo Bear and he took off like a rocket.... hmmm.... I suppose that's the sort of effect Pedo Bear has on people.
From the bits and pieces, Greg made this cake skeleton...
Alex got her sister to bake her own birthday cake (smoooooth, Alex!)... It's gluten free, so a bit of a challenge to tort... oops!
Leaning tower of gluten free with cascading waterfall of ganache...
The best thing about chocolate cake is, you can sorta squish fallen bits back into the cake and glue them with ganache... like so...
Slap on a thick layer of ganache and no one's the wiser...
Meanwhile, Greg's prepping the cake board.
He even covered it with cake foil.... awww... looks like store bought!
So professional, it deserves a second look.
Assemble the skeleton, cover with foil. Oh, make sure you wash your bones thoroughly... we put ours through the dishwasher about 3 times.... afterall, they did come from the plumbing section in Bunnings!
Attach the cake board and secure it to the "hip bone"
Homemade LCMs, aka rice krispie treats, aka RKT. For this cake, I used up a giant box of rice bubbles, 3 bags of marshmallows and half a block of butter.... that's how much rice treats is needed to "flesh" out the bones.
One leg before and one leg after. The ganache helps the rice treats to stick to the bones.
Close-up of leg - doesn't that look like a bloody bone with ripped off flesh? Bu-wahahaha!
Greg's very good at packing in the rice treat flesh.
Legs done!
Under-belly done too, cling-wrap to hold everything in place and leave to set.
Once set, attach the spine and slide the cake down the spine, attach the shoulders and foil wrap.
Ganache the shoulders.
Rice treats wrapped around the shoulders and chest.
Plop on the head, which is a styrofoam ball. I used styro coz it's light and will stop the cake being too top heavy.
Okay.... the torso's looking elongated.... oops! Time to perform some surgery. Dislocate the shoulders, then saw off a chunk of the spine... easy... easy.....
Much better. Bear all ganached... well, almost... looks like skin, eh? LOL.
Close up of ganache after Greg and I have slapped it on...
Close up of ganache after smoothing. Best way to smooth ganache on a novelty cake is, wait for the initial slap-on layers to set and harden. Put on a pair of food-grade gloves, get ready a bowl of hot water. Dip fingers in hot water and use fingers to smooth.
Time for the fun stuff. Yet another good thing I stole from Greg (hehe)... his marble rolling pin. Nice and heavy, best ever to roll out fondant.
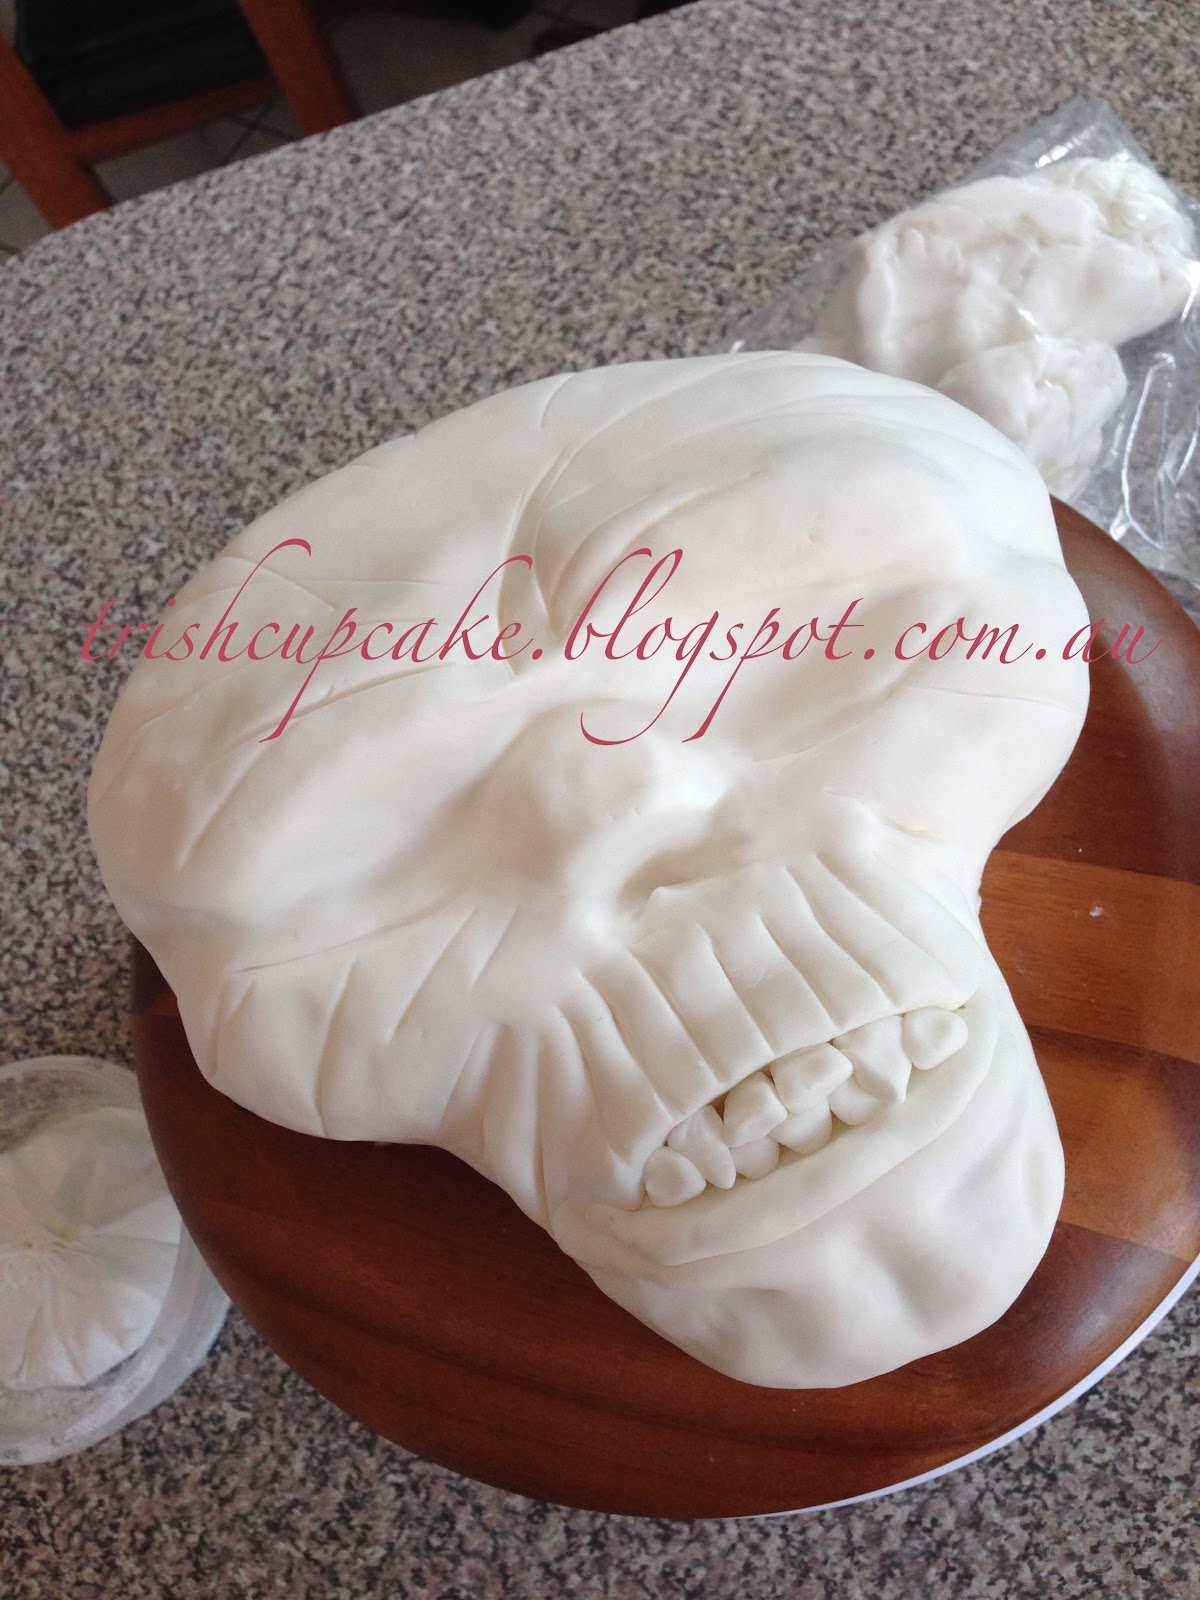
Stick on fondant one panel at a time.
Almost there...
Done! Sorry... as usual, I get carried away and forget to take pics but you get the picture. It's just the final touches. Pedo Bear says "you're too old for me" which is a good thing!