This cake was both fun and frustrating. Fun coz it's a 3D video game character, frustrating coz some bits didn't fit and when they did, they wouldn't stay where they were supposed to.
I drew out a footprint template for Luigi's kart. To make sure it's symmetrical, I folded a piece of A4-size paper in half and drew out one side of the footprint and cut out the shape.
I then used the template to trace the shape on foam core board. I like foam boards because they're easy to cut, they're lightweight yet strong. Finally, I can push the central dowel all the way into the board.
Covered the board with foil and here's my cakeboard.
Using Debbie Brown's madeira sponge recipe, I made a 12" square sheet cake, and cut it into rough rectangular shapes.
I cut off some sharp corners...
Using the cakeboard as a template, I rounded the corners.
Stuck layers together with dark chocolate ganache and shaped some more, also added a small rectangle piece at the back of the kart.
After a bit more shaping and also added the front piece. I didn't take pics, but there's another triangular piece I added to the front just to help the nose taper down nicely.
Applied first coat of ganache. Ganache looked really sloppy coz I forgot to make it the day before and I couldn't wait for it to set so I applied it runny and left it in the fridge for a few hours.
This is after second coat of ganache, much less sloppier than the first.
But still looking rough. Again, forgot to take pics after 3rd ganache coat and smoothing out.
Forward fast 2 days later, just to show how I held Luigi's cap rim in place - by tying some cling wrap around his head.....
Luigi in his kart with bits held up using pieces of sponge.
Luigi all glossy after steaming with my trusty Philips steam station. The steaming is a great way to clean up remnants of corn flour on fondant, especially with such bright and vibrant colours.
Luigi the next morning. The gloss disappeared when the steam dried.
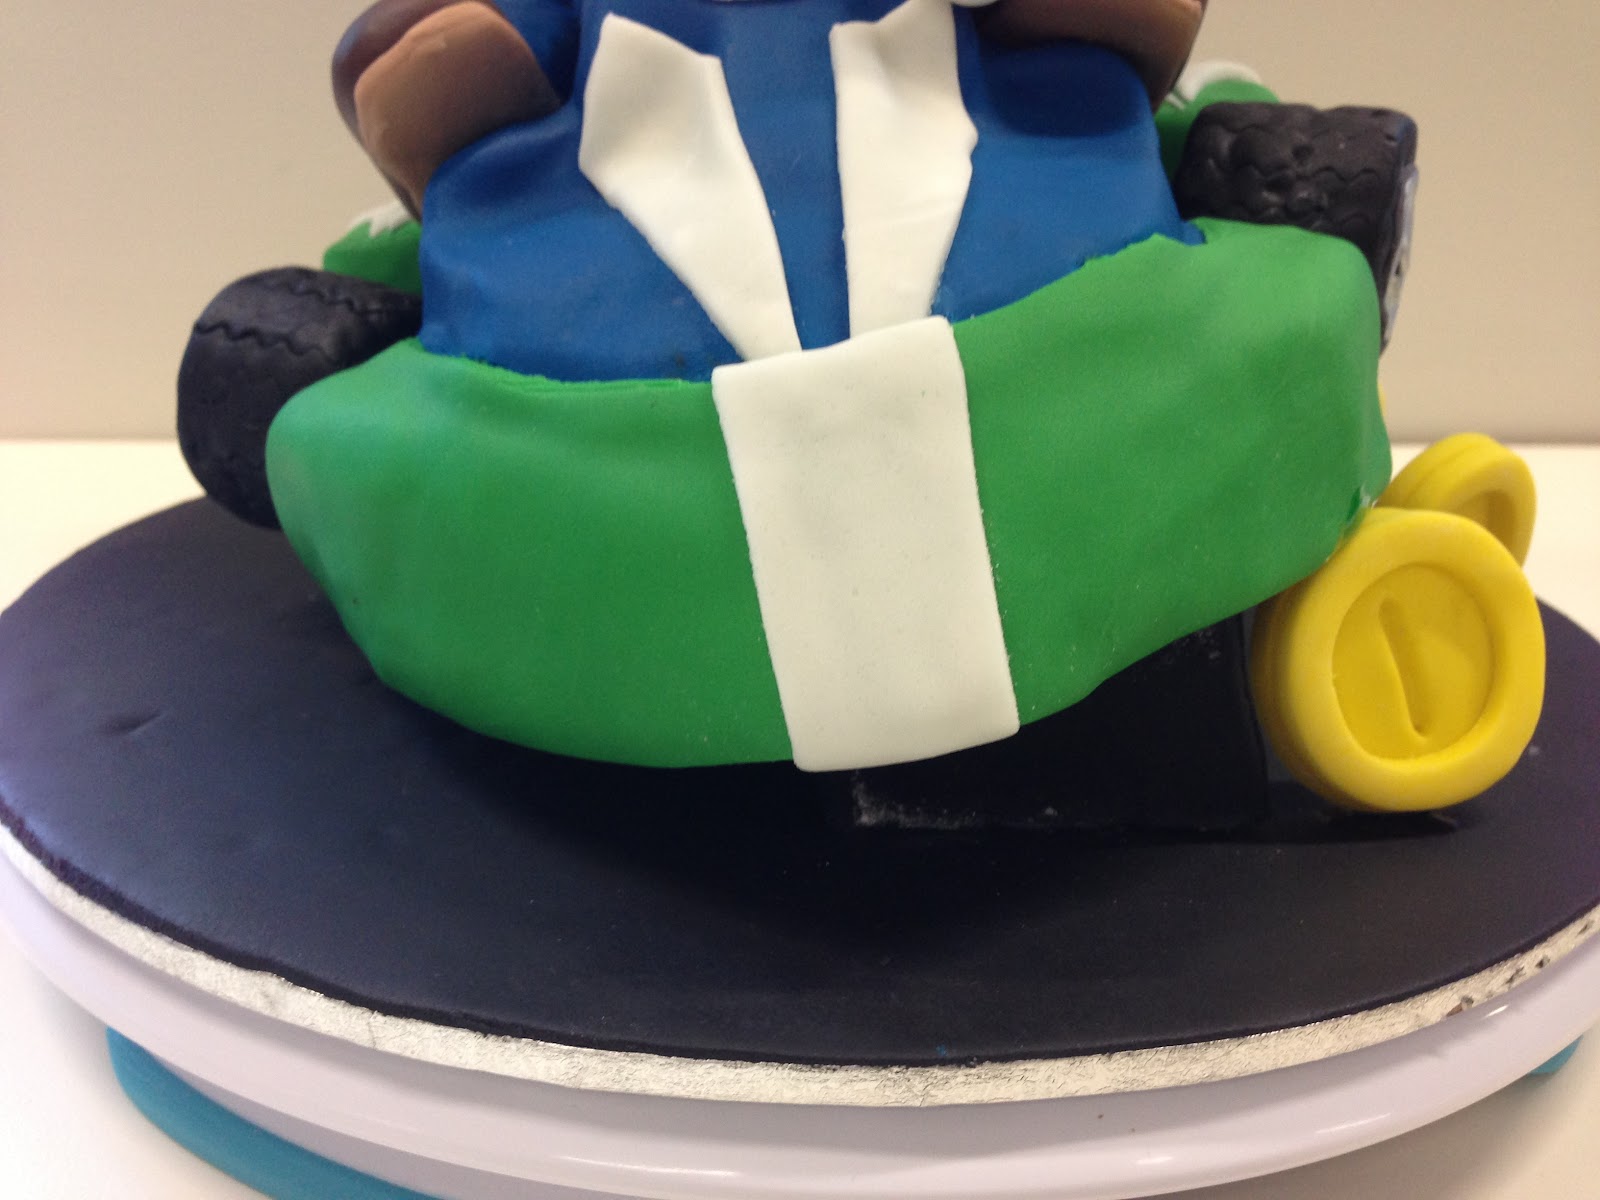
Yes, I know... Luigi's kart has 4 exhausts, I have only 2 here. This is where it got terribly frustrating. I initially fitted 4 exhausts, then hubby pointed out there wasn't any space to fit the back tyres. So, I dismantled all the exhausts, fitted the back tyres, then found there were no more space to fit all four exhausts.
Close ups of the styro support at the bottom of the kart to make the kart tilt. Luigi is actually sitting on another styro support to make him tilt the other direction. These two tilts made it look like Luigi was taking a sharp corner.
The end-result is a cake that's suspended in motion... quite pleased with this one.