Showing posts with label sculptures. Show all posts

Tuesday, November 6, 2012

Oh baby!

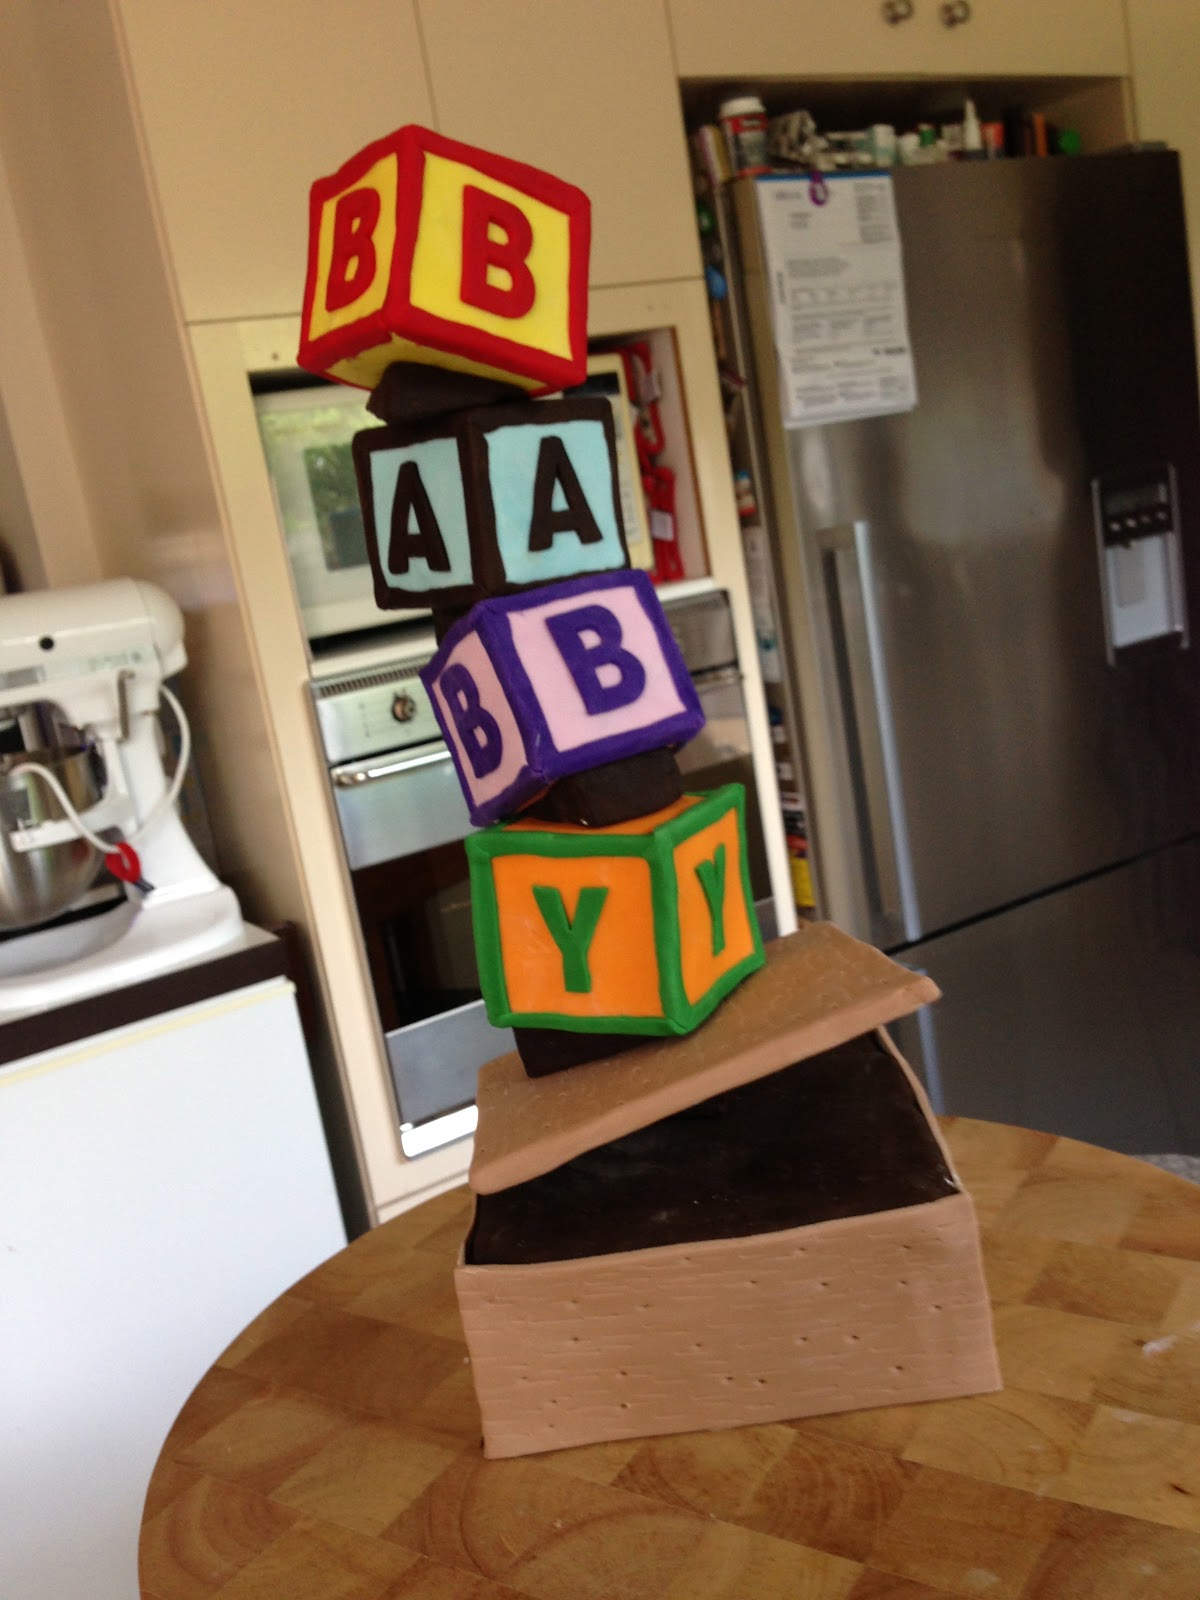
Two pregnant workmates, both due about the same time. So thought I'd try another topsy turvy, and this one is more topsy than my first attempt with the teapot. First, concept drawing using my iPad Autodesk Sketchbook Pro app. Love the app coz it works in layers. First layer is the base cake which is the toy box and teddy. Second layer the alphabet blocks. This way, if the topsy turvy doesn't work, I don't have to erase everything and start over; I simply erase the second layer and do the blocks again.
Toy box cake is a 6" square orange Madeira sponge, layered and covered with dark chocolate ganache. I cut out fondant rectangles to size and made some wood impressions.
Same thing with alphabet blocks in various colours.

Test out the angles...
Would have loved to add more toys and details but I had 2 novelty cakes to make that weekend, so it was quite a rush job.
Oh well, still got eaten!

Saturday, August 4, 2012

50 puppies yesterday

I managed to make 50 puppies yesterday, which isn't a big achievement, considering it was Saturday so I should have had all day to make more. I suppose could've made more but I was whisked off to the DEEWR winter ball. So I made only 50 puppies - 25 St Bernards, and 25 Dalmations. I hope to achieve a better number today... we'll see...


Thursday, August 2, 2012

Puppies puppies puppies!

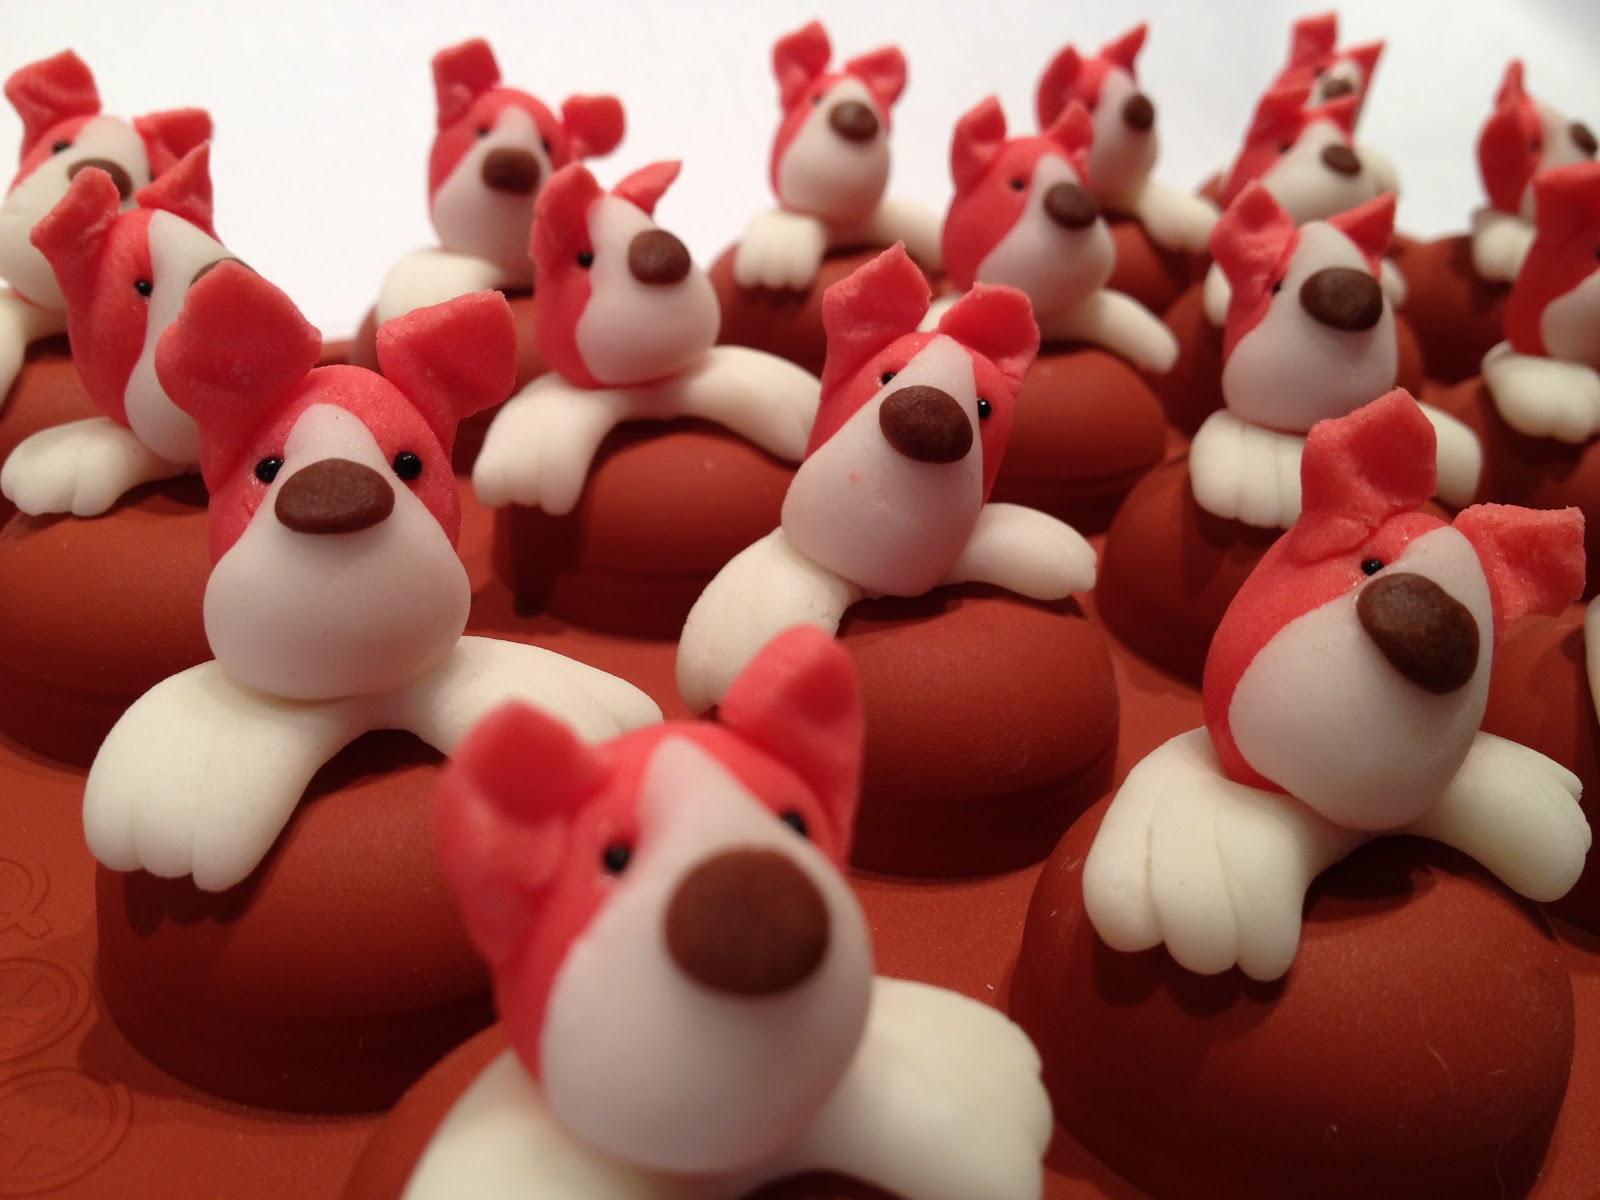
60 puppy cupcake toppers done, 240 more to go! Yes, two hundred and forty.... for now! So far, I have orders totalling up to 200 cupcakes from work and another 100 from Glenn's work. Looks like I'm going to be very busy making puppies and more puppies!
Donate to a worthy cause: http://www.fundraise.rspcacupcakeday.com.au/cat_herderers


Saturday, July 14, 2012

Everyone needs some TLC

These 2 cake toppers are my latest commissioned piece from Glenn. He in turn has been commissioned to make 2 "Thank you" cakes from someone who wants to present the cakes to nurses who have looked after his wife when she was sick. The girl in blue represents a caring nurse and the girl in pink represents a patient. These took me 8 continuous hours to make but it was fun. Sorry, no step-by-steps this time. Once I started I just didn't want to stop to take pics! I'm quite pleased with how they turned out so I call this my new "Everyone needs some TLC" range. LOL. 
p/s: inspiration for these came from Willow Tree figurines.


How to make a puppy

These puppy cupcake toppers were a big hit with my RSPCA fundraising last year so I'm going to make them again this year.
1) Start with some gumpaste or fondant. My favourite is Satin Ice coz Buddy Valastro uses it and so does Duff Goodman from Ace of Cakes... haha! No, I use it coz it's got a good easy-to-manage texture and tolerates a fair bit of handling. It's good for beginners coz if you make a mistake you can re-knead it and try again a few times.
2) Okay, a clump of gumpaste or fondant looks like this when taken out of the tub. Needs some kneading to make it more pliable. On cold days you'll need to knead it more than warm days coz the fondant gets hard in the cold.
3) You know you've done enough kneading when the fondant is nice and smooth, like this.
4) Dust your working surface with corn flour. A dusting pouch distributes the cornflour better. I use a Wilton dusting pouch but you can make your own using some stocking material (make sure it's new stockings!). I also use a marble slab which I covered with cling wrap just to keep things tidy.
5) Roll 2 small balls of fondant, making sure they're the same size. Just about everything in sugar art starts with a ball shape. From a ball you can shape just about anything. 
 6) From the above 2 balls, form sausage shapes like these.
 7) Flatten one end of the sausage and using a pair of scissors, make 2 slits.
 8) Round off the edges and form paws. Apply some sugar flower glue (yes, it's edible) and stick the two paws together like this.
 9) Leave the paws on an small upturned sauce bowl to get that curved shape so your puppy will look like it's hanging out of a cupcake.
 10) Stick a tiny bit of dried spaghetti like this. The spaghetti provides support for the head later.
 11) Roll a ball of fondant to make the head. Form into an egg shape.
 12) Stick the head to the paws with sugar glue.
 13) Form another sausage shape.
 14) Wrap the sausage around the face like this and stick with sugar glue.
 15) Pinch some chocolate brown or black fondant and form teardrops. You get teardrops by first making balls, then sharpen one end of each ball by rolling with your fingertips. Once you've got the teardrops, flatten them to make the ears.
 16) Stick the ears to the head with sugar glue. You'll notice I've transferred my puppy to a flower shaping cup - this is so the ears are more visible against a white background instead of the dark bowl I used earlier.
 17) Form another egg shape with chocolate or black fondant and stick on the face to make the nose.
 18) For convenience, I use black non-pareils for the eyes rather than trying to muck around with itsy bits of fondant.
 19) Stick on the eyes with sugar glue.
 20) To make the heart, form a teardrop from red fondant.
 21) Make a slit in the middle of the broad part of the teardrop and shape into a heart.
 22) And there you have it - puppy cupcake topper. Woof, woof!
These are the finished cupcakes I made last year.


Sunday, June 10, 2012

How to make a sugar man Part 2

Part 2 of How to make a sugar man
(Step 8)
Shape a small sausage with one end slightly narrower than the other.
(Step 9)
Flatten the broader end and make a small slit like this. This will be the thumb.
(Step 10)
Use your fingers to round off the sharp edges and shape the thumb. It would help to indent the palm and curve the fingers to make it resemble a hand. If you're making a bigger figure, you can also make 3 more slits and shape all the fingers. But since this is a small figure, I shan't bother with the details (the finished figure would only be about 1-inch tall).

(Step 11)
Bend the arm about half-way to make an elbow. Repeat the steps to make a second arm but remember to cut the thumb slit at the opposite end or you'll end up with 2 right arms (or 2 left arms, depending on which one you started with)! Leave the arms for about 15-30 mins to let them set but not harden. While waiting, have a cup of tea or vacuum the floor or update your Facebook or watch an episode of Cake Boss..... even if you leave it for a few hours, the sugarpaste will set but not harden, just as long as you don't totally forget about it and leave it overnight or over an entire week. If you try to attach arms to the body right after you've made them, they may be too soft and will flop or stretch and you'll end up with gorilla arms (hehe). Yes, patience is the key to good art!
(Step 12)
Attach the arms, like so...

(Step 13)
Make an oval-shaped ball.
(Step 14)
Attach the oval-shaped ball. This time you can attach the ball right away coz it's a solid ball and not as flimsy as the arms. Artistic tip - attaching the head at an angle rather than straight centre will give your figure more character.


Make a whole bunch of men and have a party! 


Bloggers.com

Bloggers - Meet Millions of Bloggers