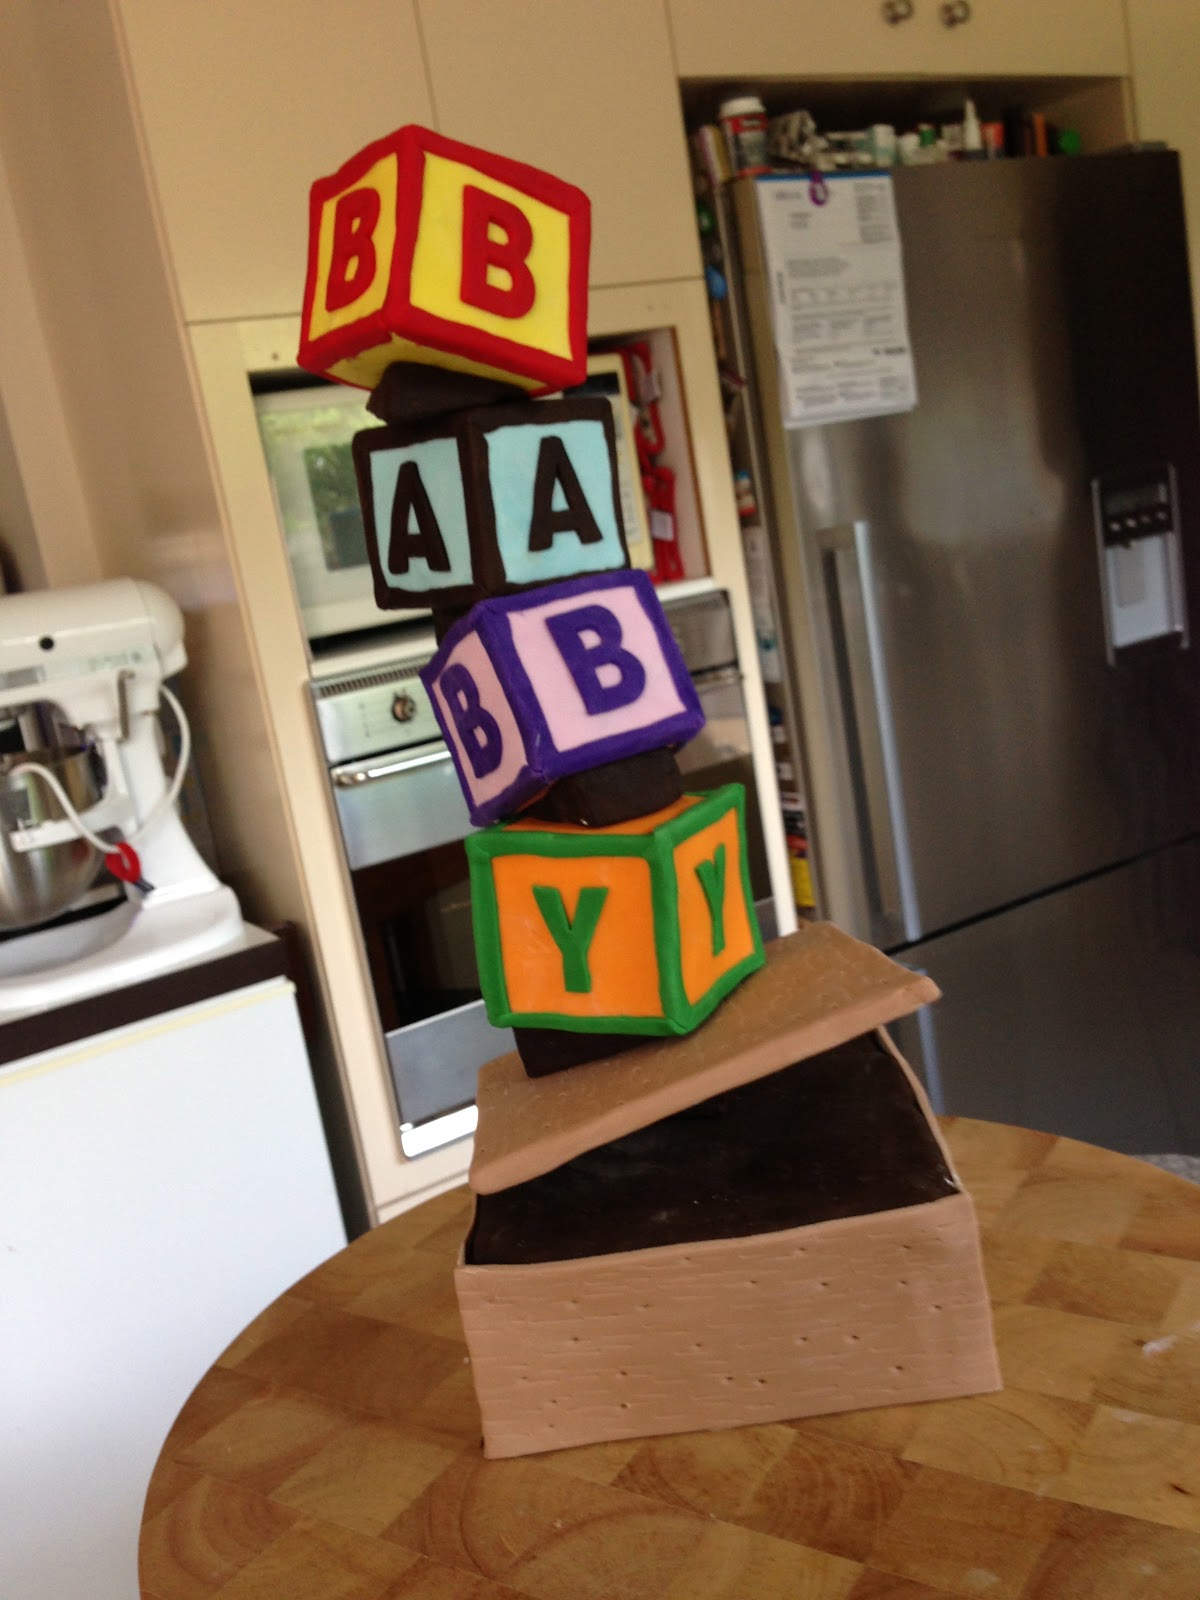
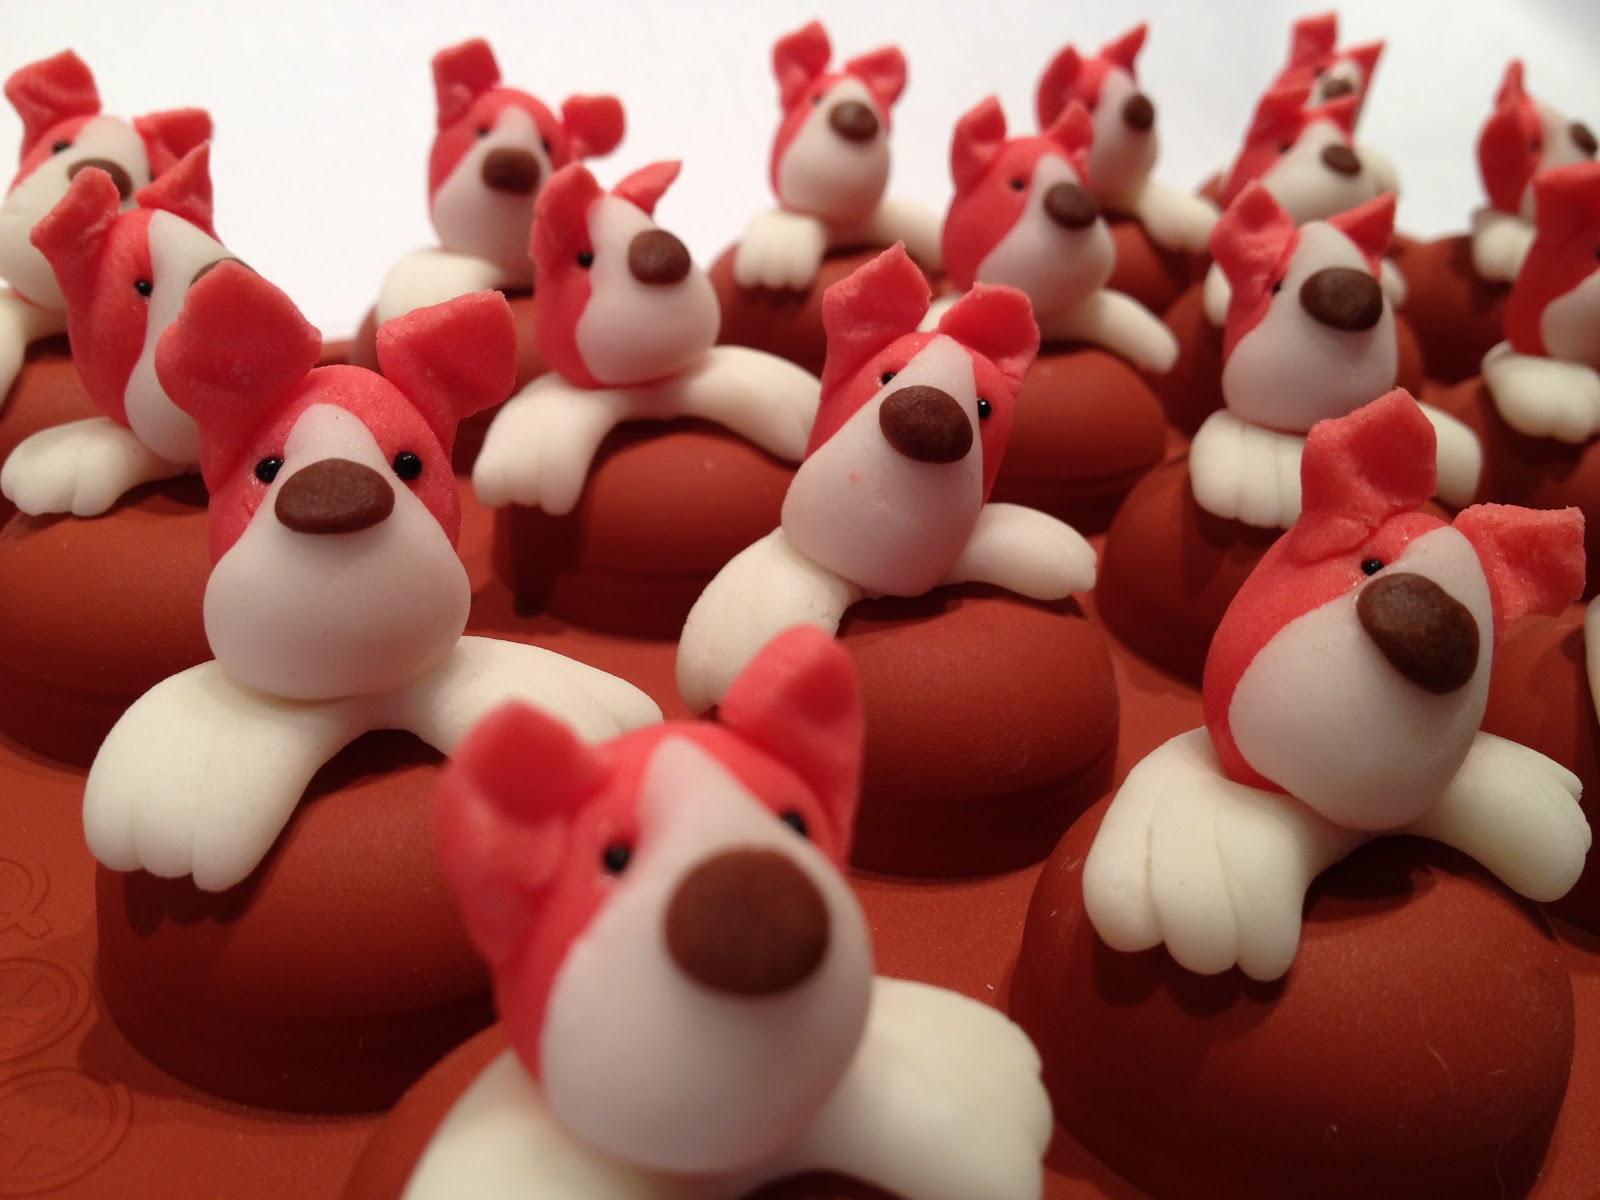
This is my first attempt at making a topsy turvy cake. It took 2 weeks of planning and 4 days to make it. This one has its fair share of dramas.
I pre-made the puppy in the teacup a weekend earlier from homemade rice krispie treats (RKT). First batch of RKT didn't turn out as expected (this is the first drama). It was too dry and crumbly so I couldn't shape it into anything, it kept falling apart, so I ended up chucking it in the bin. Second batch of RKT was better. I adjusted the Kellogg's recipe by reducing the rice bubbles from 6 cups to 5 cups. I guess Australian rice bubbles are probably slightly different from American rice krispies.

The early stages of the teacup. This reminds me of my second drama - the homemade RKT was so lumpy compared to the LCMs I'm used to. I ended up having to apply 3 layers of blue fondant to cover up the lumps, which in turn created another drama. While the fondant layers covered the smaller lumps, they also gave me big bulges which no extra layers will hide. Adding stripes did the trick in hiding the bulges which ended up resulting in Noah's French Facebook buddy thinking I must be making an Obelix.... Obelix??? Oh yeah, the blue and white stripes of his pants... got it. LOL.
I think I've mastered the art of making ganache. Decided to make dark chocolate ganache this time. Yes, I've definitely mastered the art of making ganache... no dramas here.... phew!
I reckon I've also mastered the art of torting. Check out my cream cheese pound cake torted with dark chocolate ganache.
Since the birthday girl is completely obsessed with chocolate, I figured this wouldn't be chocolatey enough for her, so I torted the cake some more with more layers of ganache. In the end, it turned out to be more chocolate layered with cake, rather than cake layered with chocolate..... messy gooey chocolate! Okay, so I haven't totally mastered the art of torting just yet!
Once the ganache has set, it's time to carve the cake into a teapot. I think I can see a teapot emerging, can you?
Two coats of ganache, then smoothed out as much as possible. Rather than doing Greg's cement rendering trick, I discovered the best chocolate smoothing tool is a pair of gloved hands dipped in hot water. Just mould the shape like a potter would. Not too shabby here.

Once the ganache layers set, I covered the teapot cake with white chocolate fondant. This is when it got dramatic again! It was so full of lumps, I was starting to switch to drama queen mode. Greg was no help. He said, "Looks like you have too many air bubbles trapped in there." "So how do you get rid of them?" "How would I know. You're the cake decorator!" Right...... Deep breaths..... as it turned out, patience is the key - after an hour of careful but firm rubbing and buffing with a piece of white fondant, I managed to remove the lumps; plus, a few pricking of air-bubbles and smoothing out with fondant, and my teapot started to look more like porcelain. Beaut! Added my pre-made flowers, handle and spout. Shaped a small cake to make the teapot lid, and here's my teapot with the saucer balanced on top, right before airbrushing with edible pearl paint. Sorry, I was so preoccupied with my dramas I forgot to stop for photos.

I inserted a thick kebab-style skewer through the saucer and teapot to anchor everything together, clipped off any excess skewers so it won't poke through my puppy's head when I insert the teacup. Haha.... you thought I forgot that bit, didn't you? I also inserted 2 more skewers on either side of the main skewer as support for the teacup and saucer to prevent them from sinking into the teapot. SO smart! Haha! So here it is, all finished and just been airbrushed, still sitting on the deck where Greg and I did the airbrushing. It's only fair I allow Greg to play with the airbrush since he's the one who got me the kit for my birthday. I must confess, he did a great job on the teapot.
Topsy turvy teapot and teacup puppy ready for delivery this morning. Oh yeah, between yesterday and today, the spout fell off. Fixed it with sugar glue and propped up with sponge overnight, all good to go the next day.
Cake delivered safely (Greg had to drive like grandpa, LOL!) and in one piece.... phew! And it held its shape until right after lunch time when the spout fell off.... again! Stupid spout!! Fixing up time! A bit of sugar glue, propped up with birthday girl's pen and drink bottle this time.

Lessons to learn? First, ALWAYS have a disaster kit to fix any accidents or in this case, slip-ups! Second, pre-make the handle and spout at least one to two days before with 2 short skewer pieces inserted into the spout in a slanting position downwards from the spout and leave to dry on cling wrap in a dish of cornflower (to avoid a flattened side). Let the spout dry completely and harden BEFORE inserting into the teapot and securing with sugar glue. The skewers are slanted so they will hold the spout kinda like a coat hanger holding up a coat or shirt. Also, try to make the spout from styro covered in fondant coz styro is lighter and because the spout is facing downwards... well, that's just gravity being a very naughty kid. LOL. Here're some close-ups on the supports used to make it all topsy turvy. I learned the technique from watching Richard Ruskell's tutorial on Craftsy.com. His technique rocks!


Finally, a close-up of covering a mistake.... well, one of the mistakes. I made quite a few with this cake. LOL. This is where a chunk of the fondant plate (moulded from a paper plate) broke off, so I covered it with brown fondant to make it look like a coffee puddle. Clever, eh?
Cake got eaten..